CCTV camera installation is the process of mounting and connecting surveillance cameras to a network, either through a wired or wireless system. The Security Camera Installation process includes selecting the type of camera, mounting the camera, connecting the camera to the network, and configuring the system to ensure the camera is sending the data it collects to the right place.
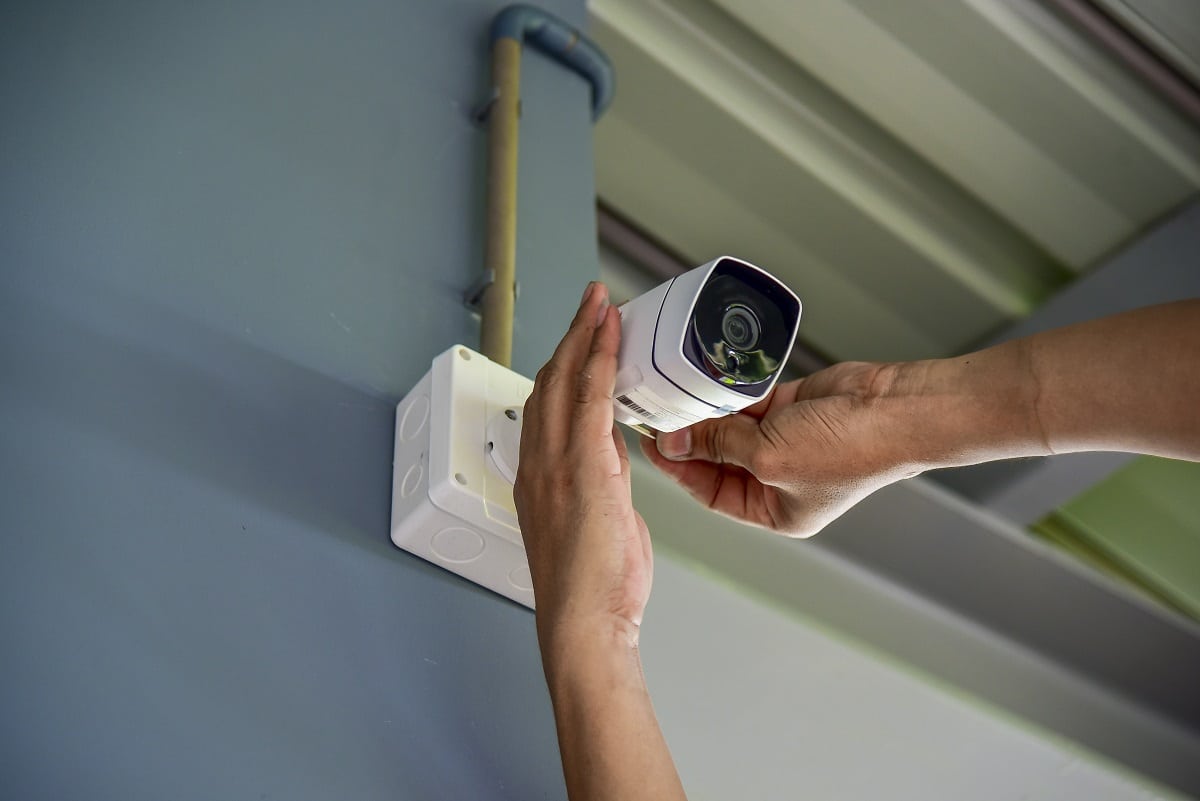
Image Source: Google
Installing a Closed-circuit Television camera (CCTV) at home is an effective way to boost security. This guide will show you step-by-step how to install a CCTV camera in your home.
1. Select the Right Camera. Choose a CCTV camera that is suitable for your home environment. Consider the number of cameras you need, the camera’s resolution, the camera’s angle of view, and the type of camera (indoor, outdoor, etc).
2. Choose the Right Location. To maximize the effectiveness of your CCTV camera, you’ll need to install it in the right location. Place the camera in areas where it can capture the most activity.
3. Mount the Camera. Use a wall mount bracket to secure the camera in the desired location. Make sure the brackets are securely fastened and the camera is properly leveled.
4. Connect the Camera to the Recorder. Connect the camera’s cables to the recorder and make sure the connection is secure. The recorder will store the footage recorded by the camera.
5. Set Up the Monitor. Connect the recorder to a monitor and adjust the settings to your preferences. You’ll be able to view the footage on the monitor.
6. Test the System. Test the system to make sure everything is working properly. If you’re satisfied with the results, your CCTV camera is now ready for use.